
Logistics Pipes Tutorial Part 4 - Consolidating Pipes
In this part of the tutorial we make use of modules to clean up our LP network, which is becoming a bit of a mess at this point.
Logistics Chassis
A Logistics Chassis is a pipe that can do several things at once. We can use this to simplify our LP network by consolidating the functions of the pipes we already have. Let’s open up the Compiler and tell it to start unlocking Chassis.
A Chassis does nothing by itself. Instead, we add modules to it that give it different things to do. There are five type of Chassis, but the only functional difference between them is how many modules they can have at once. Once the Compiler has finished, let’s build the program for a Chassis Mk2, which can fit two modules, and craft some of those.
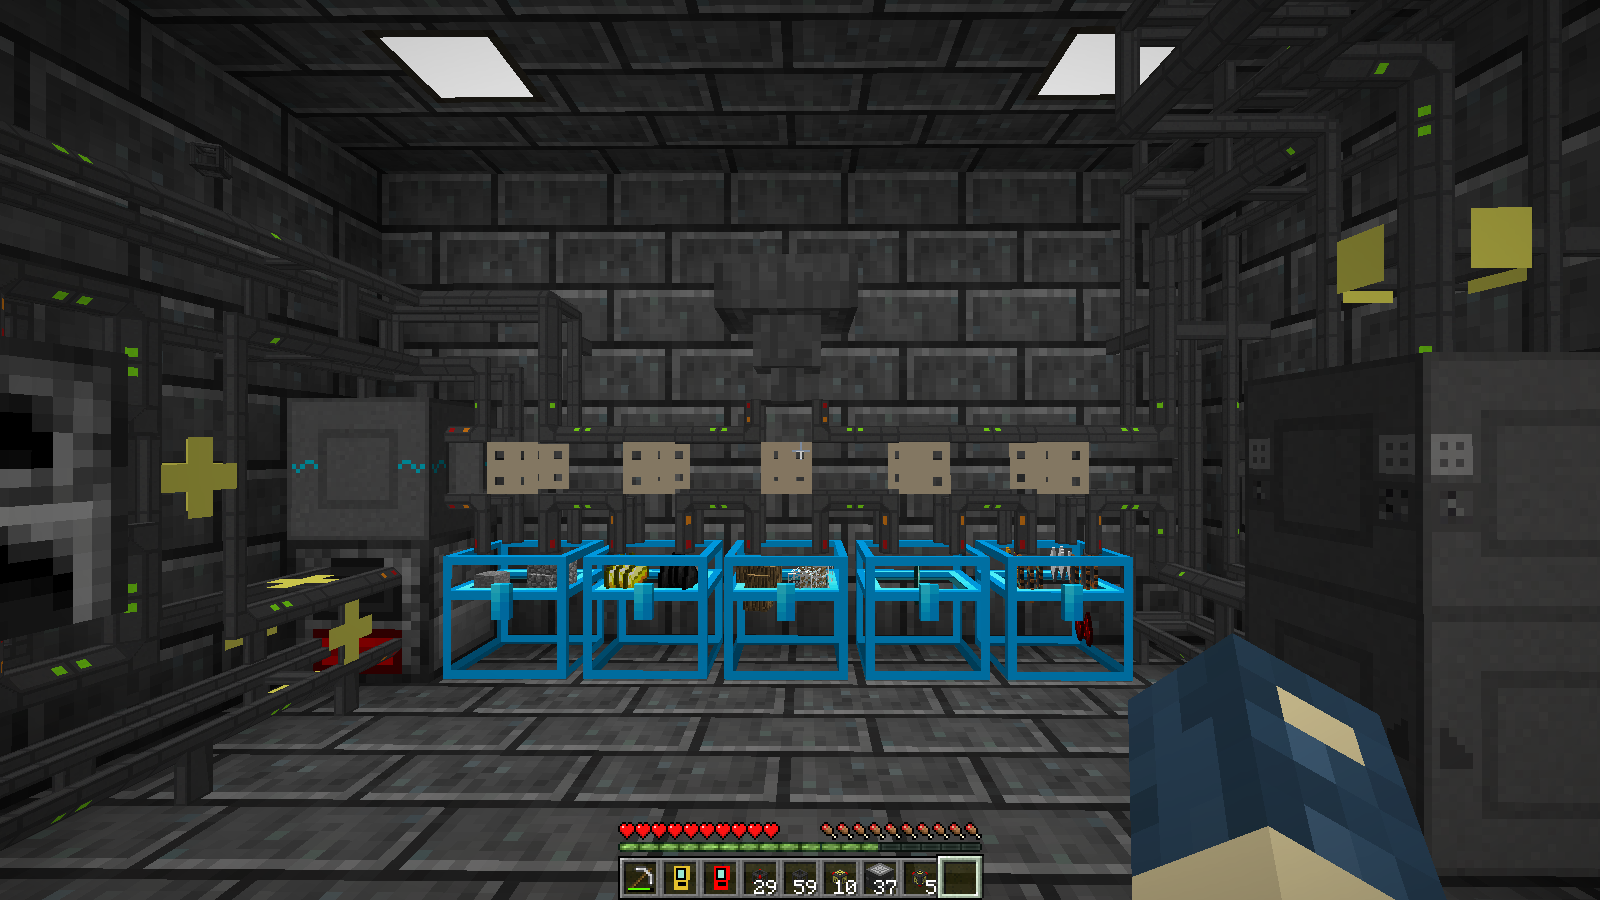
Next, we’ll remove one of the Basic pipes we have attached to a storage chest, replace it with the Chassis, then use the Pipe Manager on it to have a look inside.
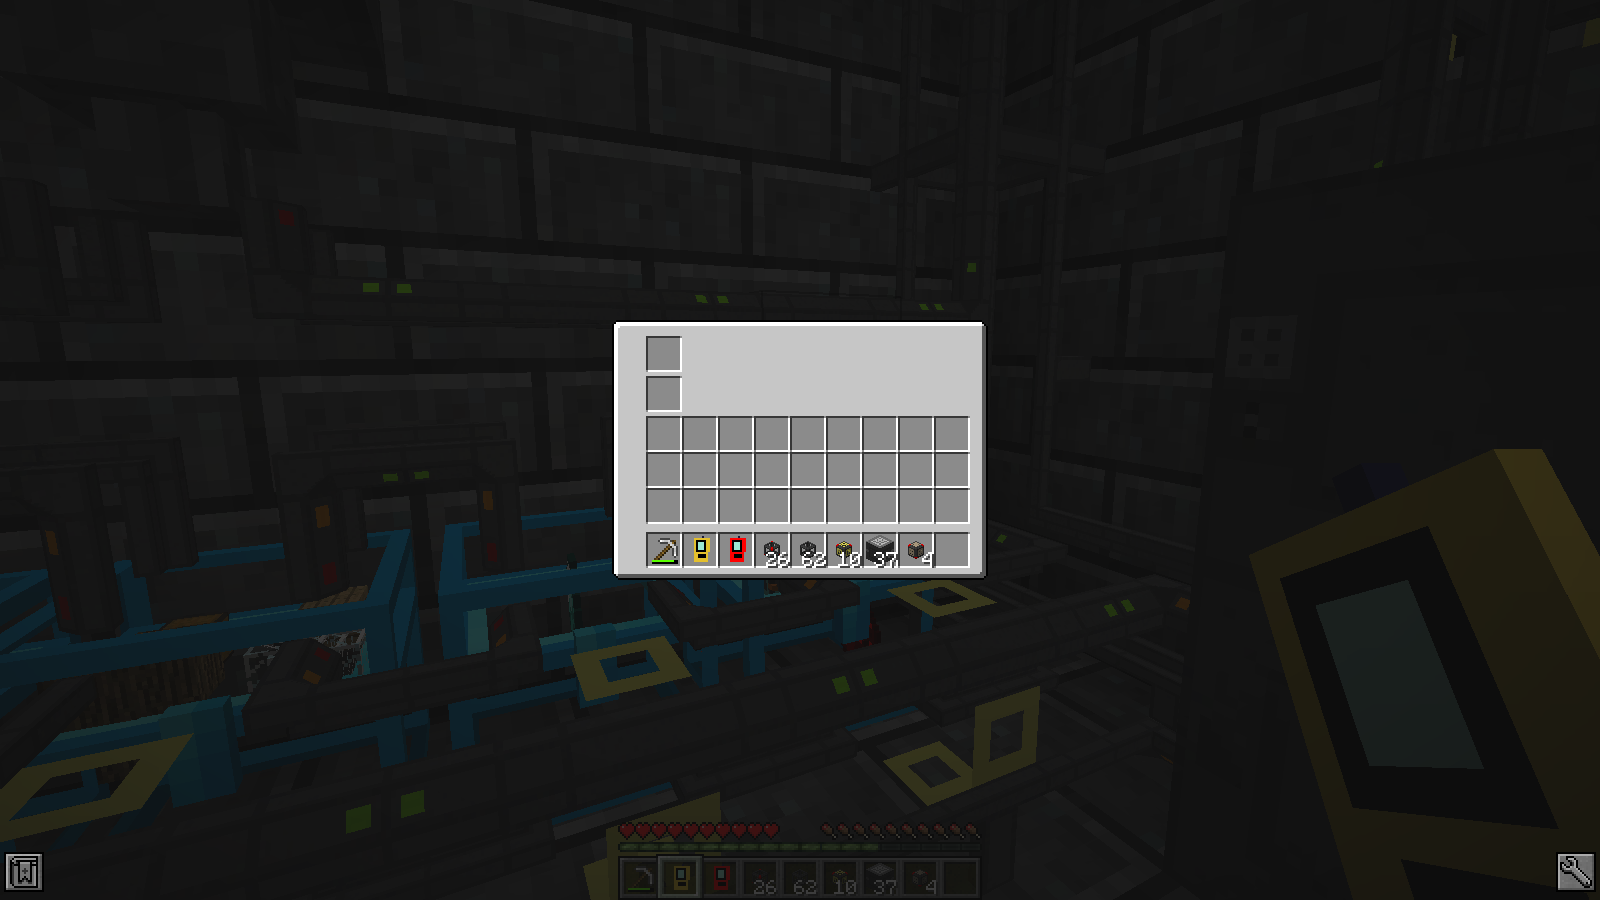
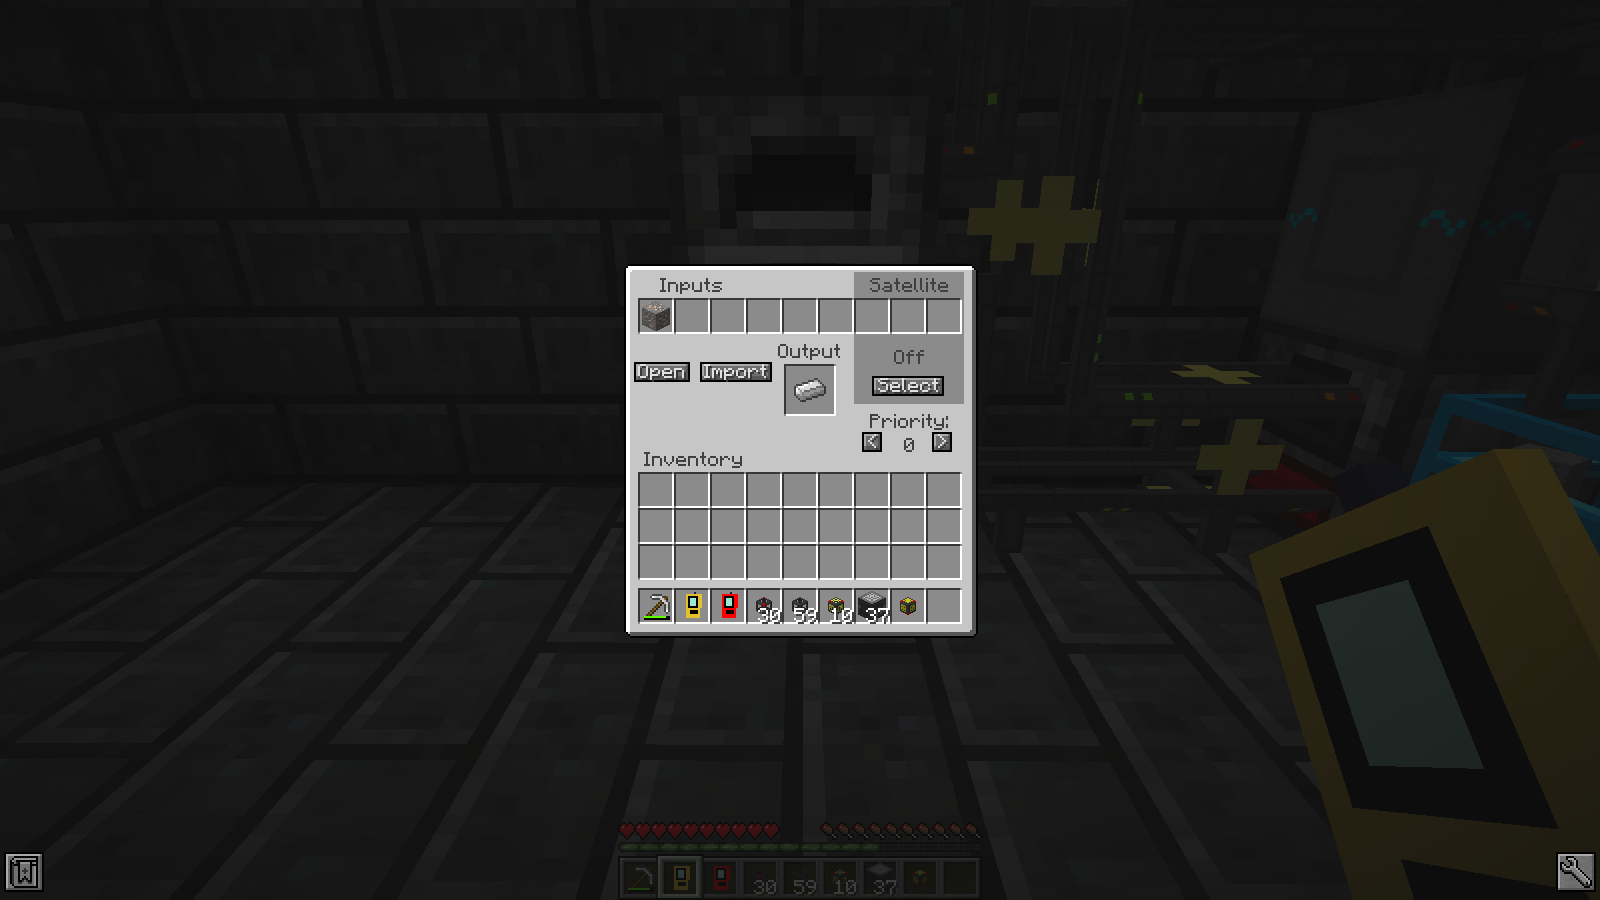
ItemSink Modules
The two slots on the top are where modules go. To make this a functional replacement for the Basic Pipe it is taking the place of we can craft an ItemSink Module and add that to the Chassis with the Pipe Manager.
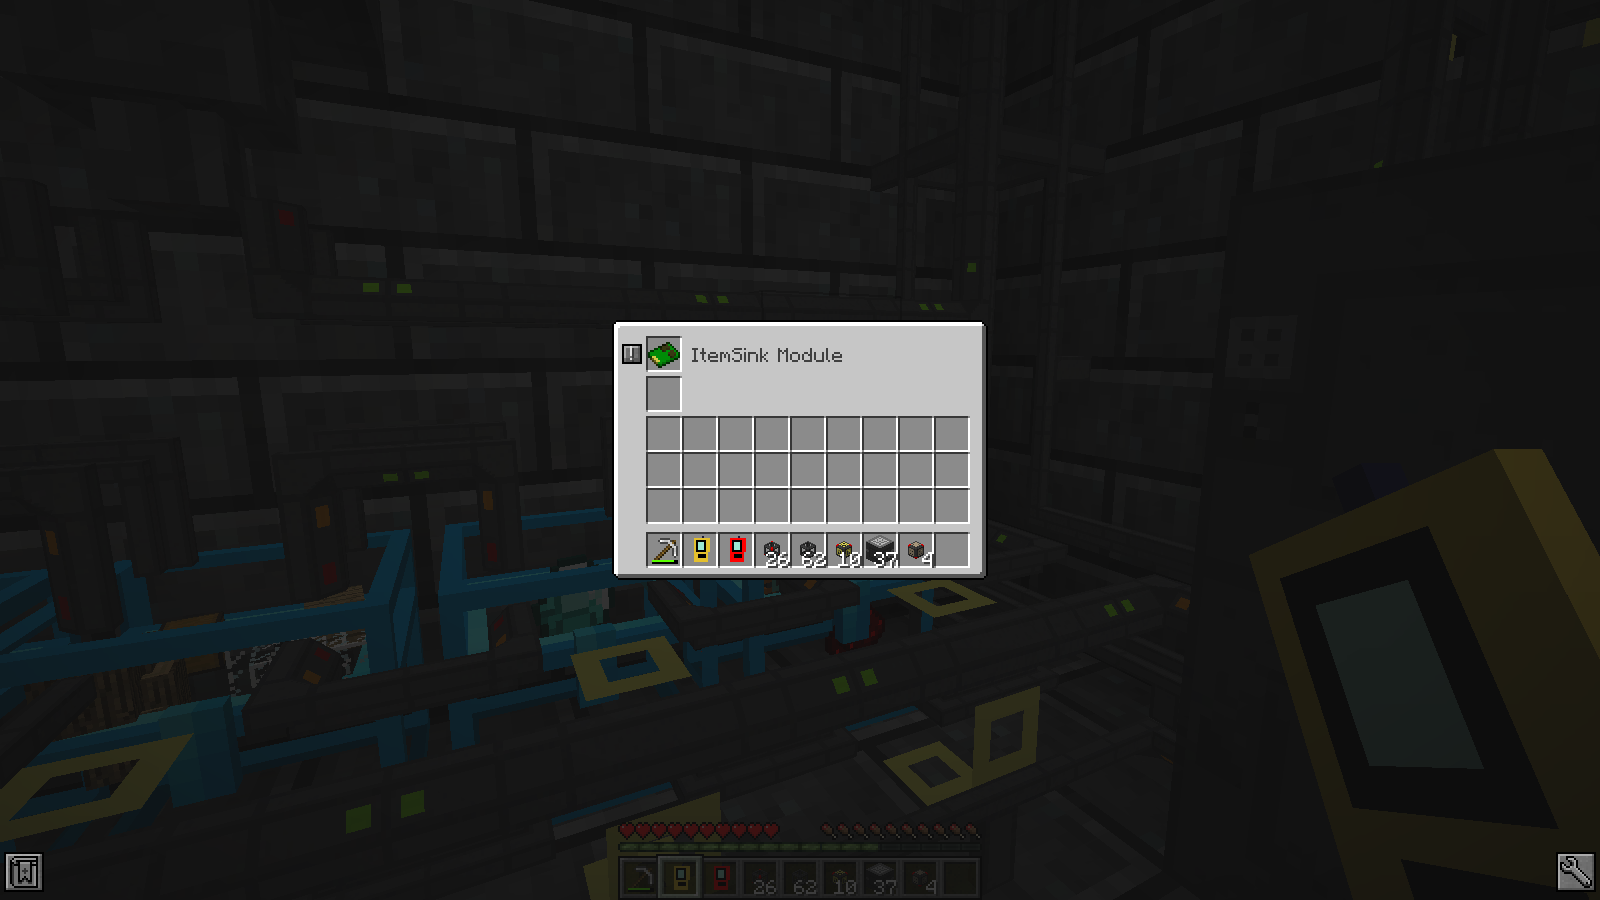
If we click the ! next to the ItemSink Module we can access its settings and then set it up just like we did with the pipe that it replaced.
Next, let’s replace the Basic pipe that has the default route with another Mk2 Chassis, add an ItemSink Module, and tell that module to act as a default route.
A variant of the ItemSink Module is the Polymorphic ItemSink Module, which cannot be programmed with a list of items.
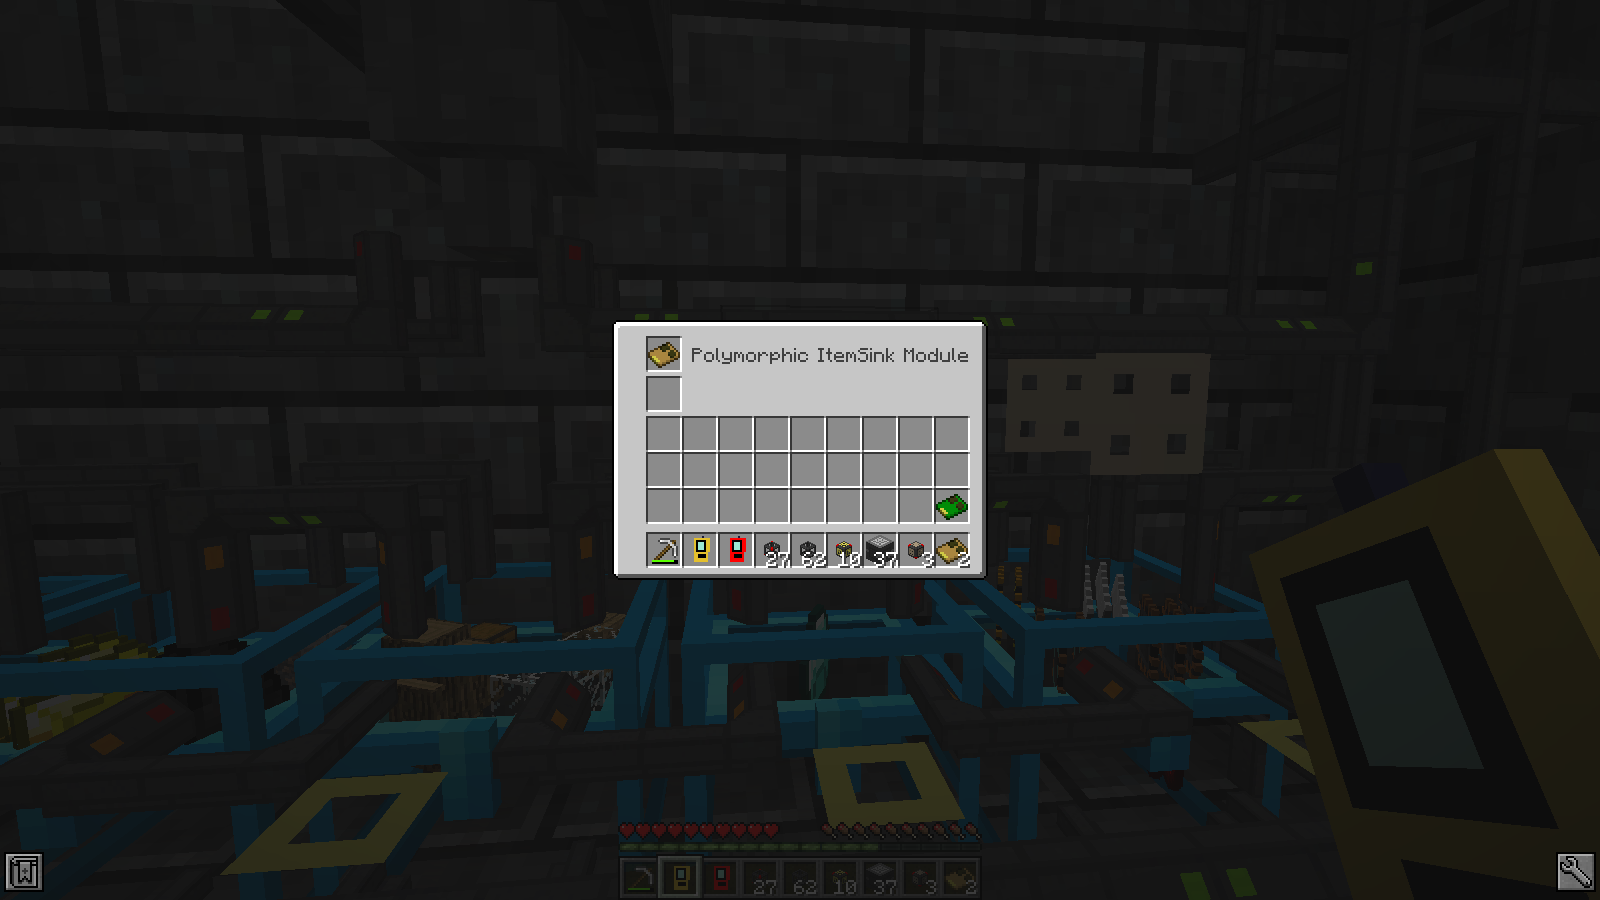
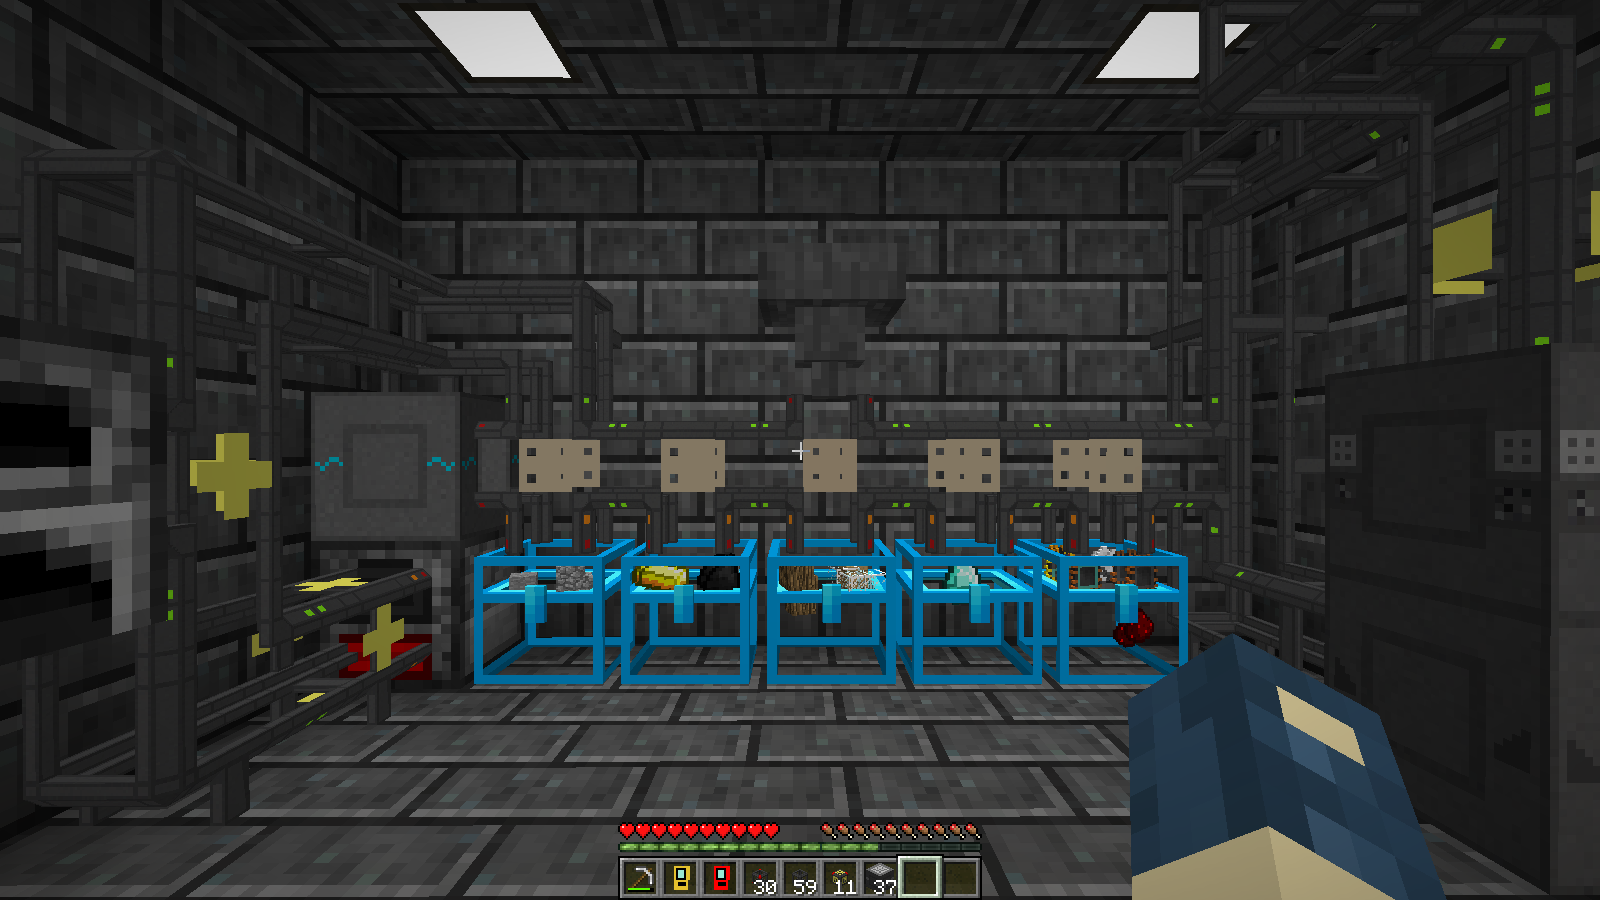
Instead of waiting for us to tell it what items it should sink, the Polymorphic version automatically sinks anything that is already i n the chest to which it is attached. Liberal use of these modules makes chest storage fast and easy. Let’s replace all of the remaining Basic pipes that we are using for storage with Mk2 Chassis and Polymorphic ItemSink Modules.
Provider Modules
Next, we can consolidate the pipes on our storage chests by crafting some Provider Modules and adding them to the Chassis on our storage chests. Let’s install one in a Chassis that has a Polymorphic ItemSink Module and look at its settings.
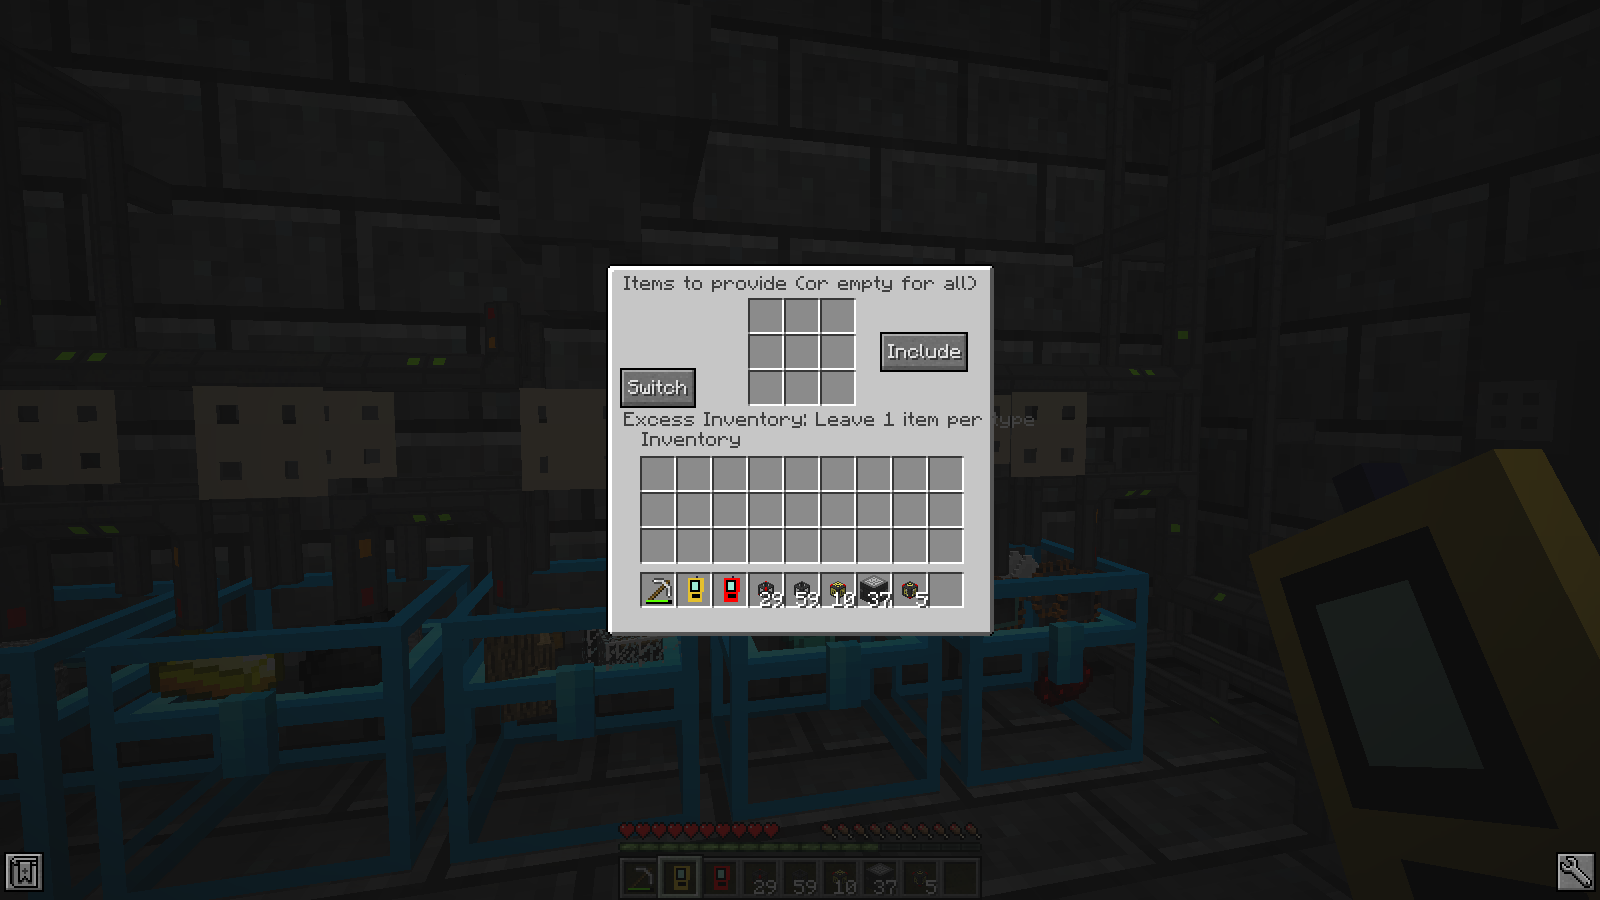
This is where we can tell the Provider Module to include or exclude specific things if we don’t want it to provide everything it has to the network. The most relevant setting to us right now is the “Excess Inventory” setting on the bottom, which has several options:
- Normal, which provides all items it has
- Leave first stack
- Leave last stack
- Leave first & last stack
- Leave 1 item per stack
- Leave 1 item per type
Since this Chassis uses a Polymorphic sink it needs to reserve at least one of each item for itself – if it were to give up all of an item then it would stop sinking them and they would start going somewhere else. For this reason a setting like “Leave 1 item per type” is ideal. The “Normal” setting is good for machines’ output buffers or chests with regular ItemSink modules. The “Leave 1 item per stack” setting can be useful when we want to assign specific slots in chests to specific types of items so one doesn’t crowd the other out. To save some time we can configure a stack of freshly-crafted modules by holding them and simply right-clicking them in the air. Be careful – once they have been installed, modules with settings no longer stack.
Now that the Provider Modules are installed and set up we can remove the Provider Pipes since they are no longer necessary. At the moment, removing them is even more important because the Provider Pipes and modules both provide the same items to the network, leading to double-counting. With those cleaned up, things are looking better already.
Provider Pipes have the same settings as Provider Modules, by the way. We just skipped over them earlier since Normal mode was fine.
A close look at these new Chassis reveals a problem: a given Chassis attaches to only one thing at a time, indicated by orange dots on one side. The Chassis on the left has attached itself to the Power Junction instead of the chest. The Chassis in the center has attached itself to the hopper. This is preventing these Chassis from doing what we need them to do, but if we pull out the Pipe Manager, hold shift, and right-click each of the problematic Chassis, we can easily fix the problem.
Crafting Modules
We already have automatic crafting of iron ingots, so let’s add automatic crafting of gold ingots, too. We could set up another furnace and set of pipes, but since this furnace sits idle most of the time we can have it smelt gold as well. This is possible with the power of Crafting Modules. Let’s craft a couple of those and a Mk2 Chassis to replace the Crafting Pipe underneath the furnace.
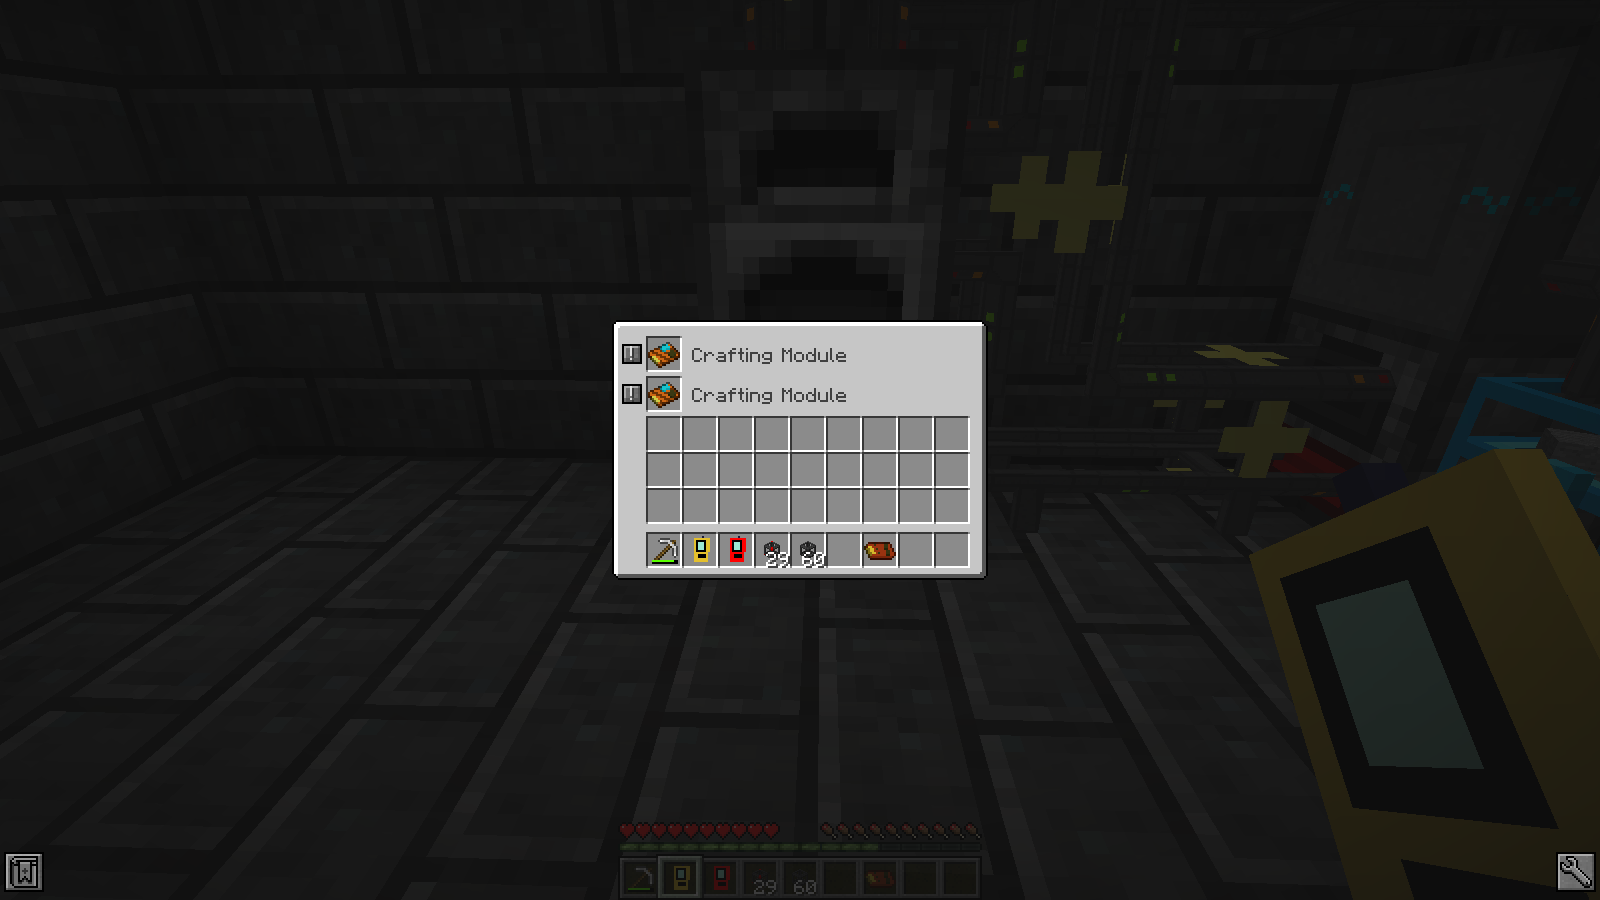
After we insert the two Crafting Modules and open up the Chassis we can set them up, one per recipe, just like we did for the original Crafting Pipe. They both still need to use the Satellite Pipe since the furnace accepts ore only on the top, but since Satellite Pipes have no recipes of their own both Crafting Modules can share it.
When two different crafting processes can use the same machines those processes can sometimes come into conflict. With this furnace, for example, if we request some iron and gold ingots in quick succession, the crafting pipe will ask for iron and gold ores to be sent to the furnace. When the iron ore arrives at the furnace it will begin smelting, but when the gold ore arrives the top of the furnace will be occupied by the iron and the Satellite Pipe will fail to insert it. This will cause the gold ore to appear to bounce off of the furnace, re-enter the LP network, and then get sent back to storage. The Crafting Pipe remains aware of this and will make another request for gold ore when the top of the furnace is again empty. Item bouncing is one reason it is generally crucial to have Providers everywhere that can sink items. If a crafting ingredient bounces and ends up somewhere that does not provide it to the network then the Crafting Module will never finish its crafting because it cannot fulfill its requests for ingredients unless more of them are already in storage.
Sneaky Upgrades
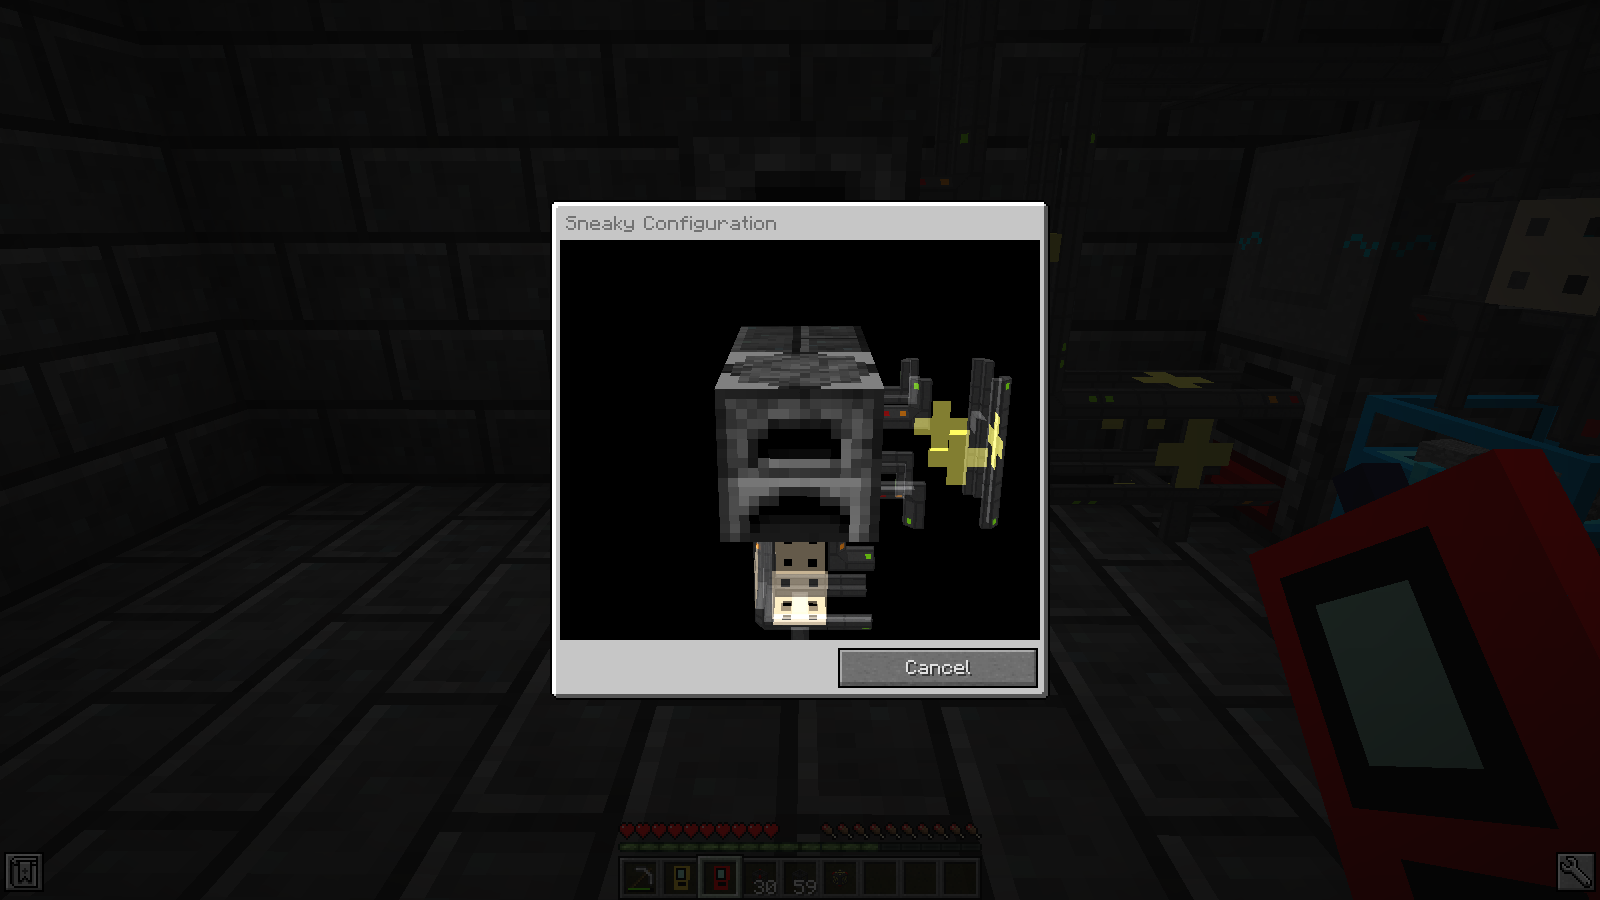
The furnace’s sidedness makes it deceptively complicated to automate, but we can tweak our pipes’ behavior to handle this sidedness more seamlessly and clean things up a little more by using upgrades. Upgrades are items we can install in pipes that alter existing functionality rather than adding major new functionality like modules do. They also differ in that they can work in many different types of pipes, not just Chassis. To manage upgrades we need to craft a Pipe Controller. It looks like a red Pipe Manager.
The most uesful upgrade to us right now is the Sneaky Upgrade. Adding a Sneaky Upgrade to a pipe causes it to pretend as if it was on a different side of the thing to which it is attached when it tries to add something to its inventory. This is best illustrated by example: the reason we used a Satellite Pipe on the furnace was so that pipe can insert ore into the top of the furnace while the Crafting Modules extract finished ingots from the bottom. If we use a Sneaky Upgrade on the Chassis with the Crafting Modules then we can make it insert ore into the top of the furnace by itself.
Let’s craft a Sneaky Upgrade and right-click the Chassis with the Crafting Modules with the Pipe Controller so we can install the upgrade.
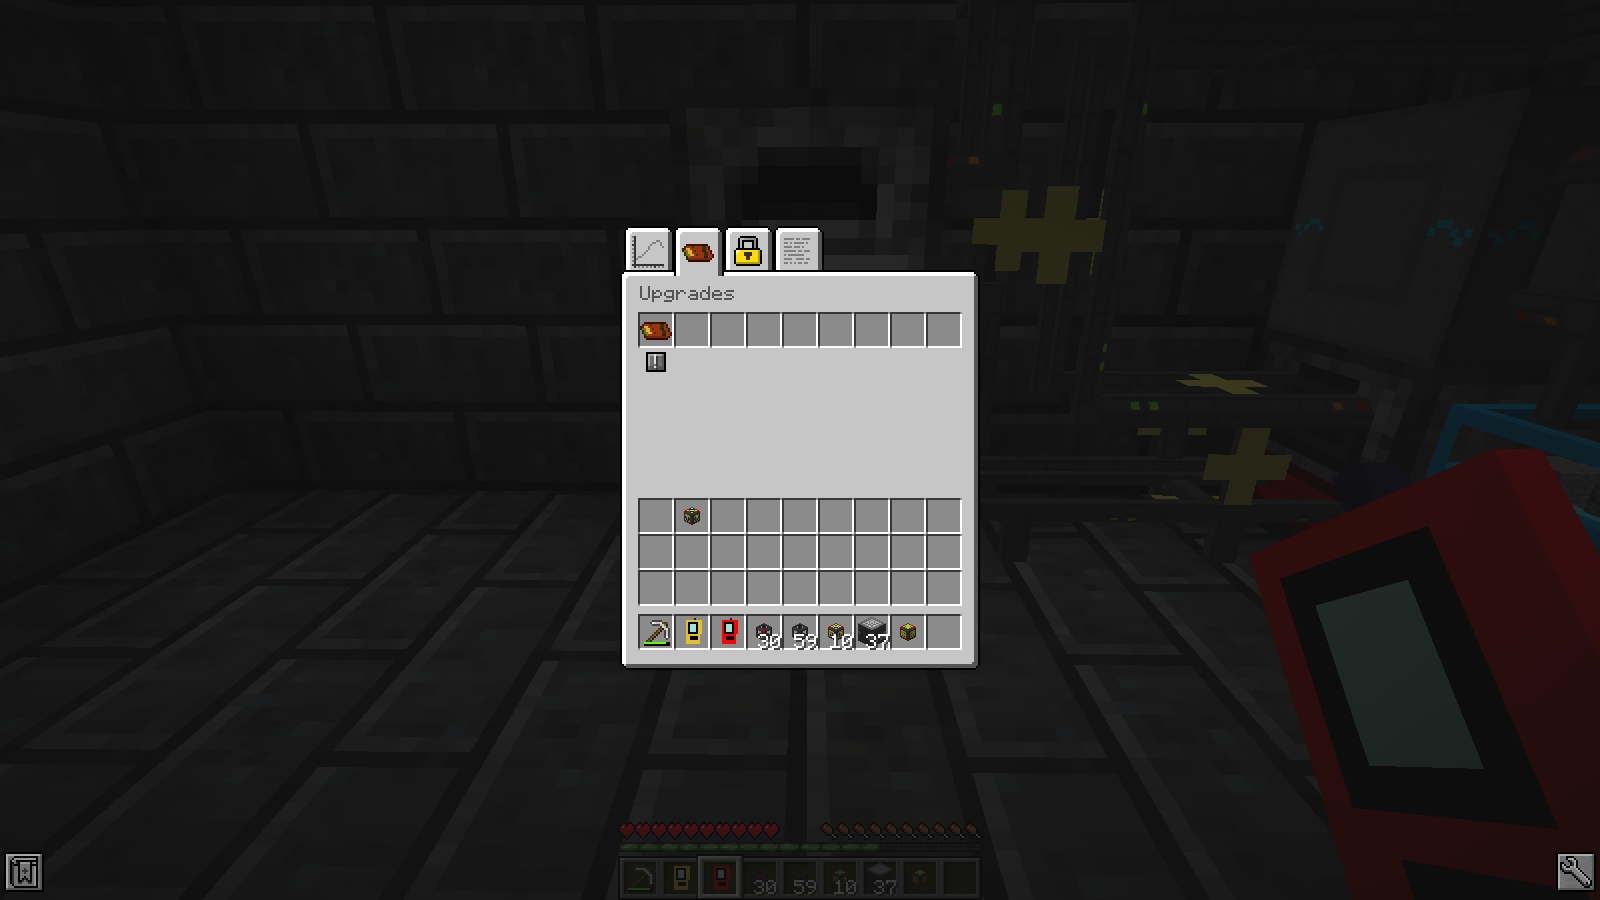
Clicking the ! under the upgrade brings us to a 3D view of the furnace that we can use to decide what side the pipe should insert into. Rotate the furnace by holding the left mouse button and moving the mouse, then right-click on the top to tell it to insert into the top. The 3D view will close without showing anything, which is not the greatest feedback, but we can ensure that it worked when we test crafting shortly.
We can test this by removing the Satellite Pipe and updating the recipes in the Crafting Modules to no longer use it.
Then we request an iron ingot. Success! This works because the Sneaky Upgrade changes the side from which the Chassis inserts items, but does not change the side from which it extracts items. For this reason the Chassis must continue to be on the bottom.
In part 5 we will employ more types of modules to manage our items more smoothly.